
In an earlier video, I covered creating an albumart in Microsoft PowerPoint. In this tutorial, I talk about creating and printing your own cover art.
For starters, you're going to need the 'CD Cover Blank Template.PSD' file. Click here to download the template.
This is what you should have:

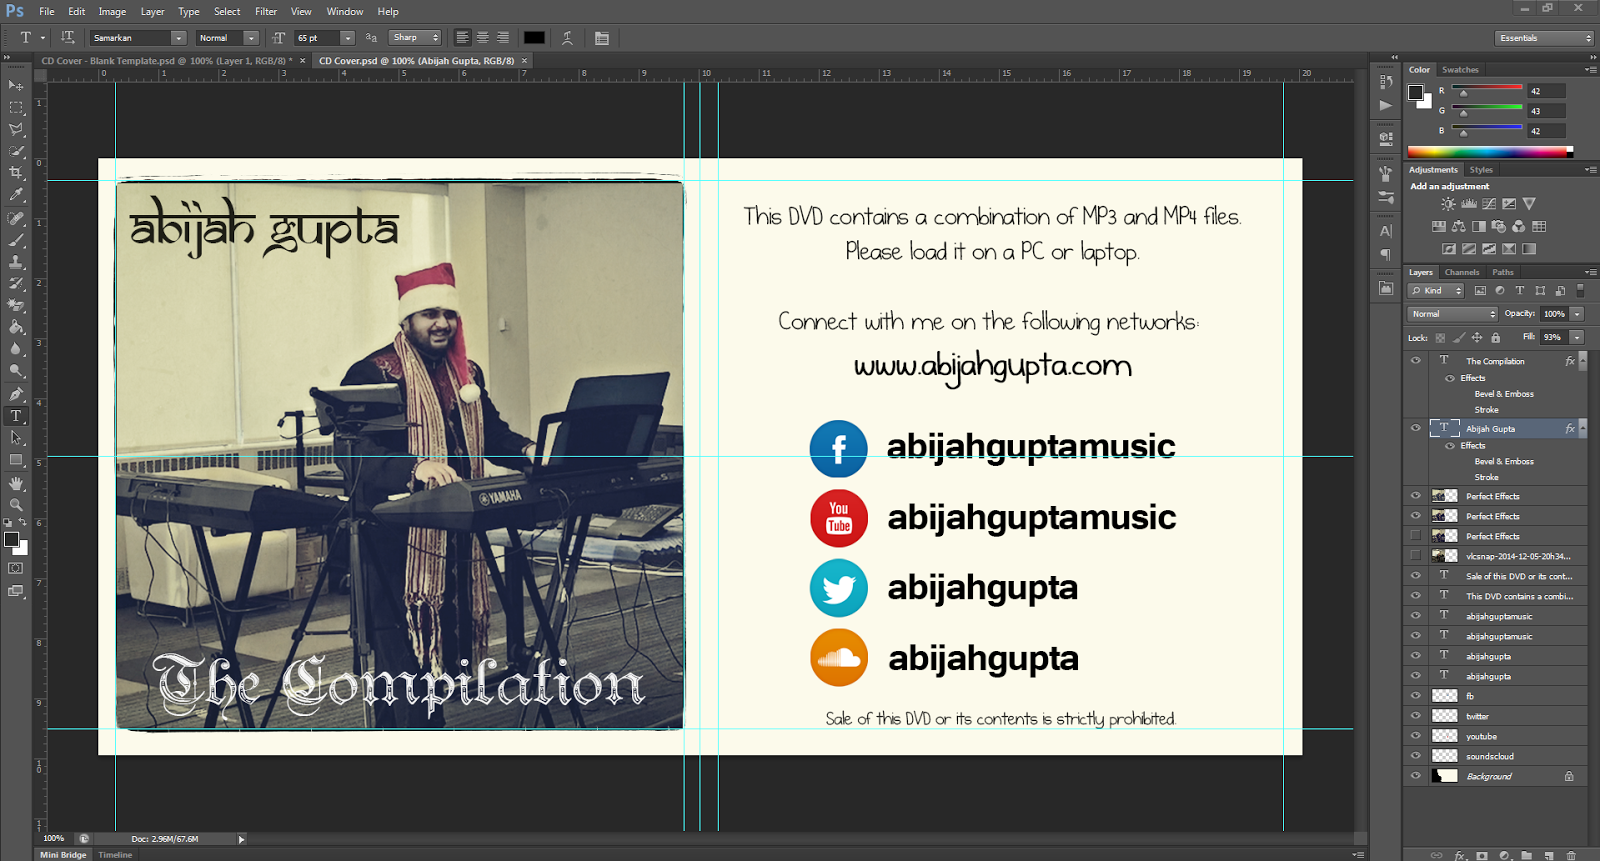
Now you will notice there are two black boxes on either sides. The left side will be where the image goes while the right side will have textual descriptions and links. I created a CD Cover for a compilation DVD a few years ago. Here's what it looks like.

Once you are happy with the design, save the image as PNG. Make sure you turn off the guide layers before saving.
Next, open up a new Word document. Change the layout to landscape and set the margins as narrow. This will give you enough space to position and size your cover.
Important: When you drop the image in the document, it will stretch to fit the the width. If you print it as it is, it will be oversized. Here's what you do:
Click on the image, choose the picture layout tool and set the height to 4.72"
Now you are ready to print the file as it is.
Cut across the borders and it will be a snug fit in the CD Cover.

Drop in a comment if you have any questions. Click here for the step by step video.
For starters, you're going to need the 'CD Cover Blank Template.PSD' file. Click here to download the template.
This is what you should have:
Now you will notice there are two black boxes on either sides. The left side will be where the image goes while the right side will have textual descriptions and links. I created a CD Cover for a compilation DVD a few years ago. Here's what it looks like.
Once you are happy with the design, save the image as PNG. Make sure you turn off the guide layers before saving.
Next, open up a new Word document. Change the layout to landscape and set the margins as narrow. This will give you enough space to position and size your cover.
Important: When you drop the image in the document, it will stretch to fit the the width. If you print it as it is, it will be oversized. Here's what you do:
Click on the image, choose the picture layout tool and set the height to 4.72"
Now you are ready to print the file as it is.
Cut across the borders and it will be a snug fit in the CD Cover.

Drop in a comment if you have any questions. Click here for the step by step video.